free pattern
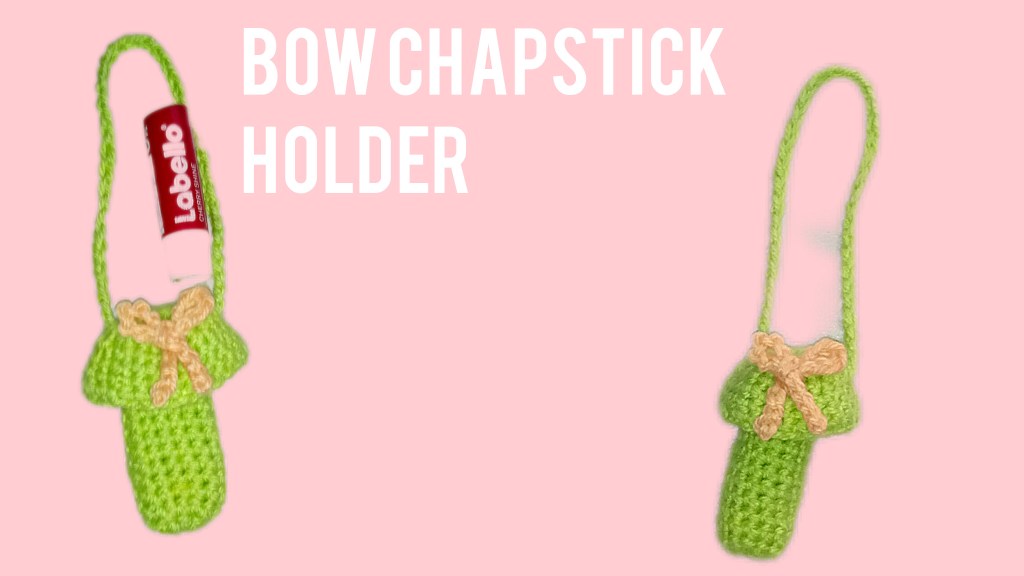
Crochet Easy Bow Chapstick Holder
©2025 CraftedComfort
Not only are chapstick holders the best accessories if you want to carry your chapstick with you all the time either you have a bag where you can put it in or not, with a chapstick holder your life is being saved. Cute bow chapstick holder is a must have all year round.
All rights reserved. This pattern and its contents are only for personal use. Do not copy, edit, and redistribute/sell this pattern. You are welcome to sell finished products with your own small photos in small quantities, but if you do so please give pattern credit to CraftedComfort. Thank you, Crochet Made Easy & Fun!
Abbreviations and stitches used (USA Crochet terminology, Right hand)
- Slp knt: Slip knot
- Ch: Chain(s)
- Sc: Single crochet
- Slp st: Slip stitch
- R: Round
Materials
- 100% Acrylic Dk yarn (Approximately 50g ball of yarn for the chapstick holder and cap, For a bow use any leftover yarn you have at hand) But you can use any yarn you have at hand so long as with the right crochet hook size as written on the yarn ball label to get the perfect results.
- 3.75mm Crochet hook
- Scissor
- Yarn needle
- Fabric glue
- Stitch markers (optional)
Technical notes and gauge
- Crochet each piece separately before joining them all together, unless specified otherwise.
- Always mark the first st at the beginning of each round according to given instructions, to keep track of your work as you will only be working in rounds.
- Always ch 1 before you start a new round, and do not turn, as stated in the given pattern.
- For round 1 you are not limited to any number of sc to start with, depending to how big and you want your chapstick holder to be.
- For round 2 increase for the entire round
- From round 3-12 (you can add more rounds if you want it longer or less round if you want it shorter) no more increase, 1 sc st only in each st
- Add more ch or less depending on the strap length you want
- When attaching the stem to the cap, make sure the ch is not twisted
- Gauge: Finished bow chapstick holder measurements: 0.5-1inch wide, 5-6inches long
Pattern
Section A: Stem
To begin, make a magic ring, insert the hook inside the magic ring, yarn over and ch1,
R1: 6 sc into the magic ring, slp st on top of the first sc st you’ve started with to join your work and ch1 to close, (6sts).
R2: 2 Sc into the same st you’ve made a slp st, and continue making 2 sc in each st around until end of the round, at the end, ch1 to close, (12sts).
R3: Sc into the same st you’ve made a slp st, and continue sc in each st till end of the round, at the end, ch1 to close, (12 sts).
R4-R12: Repeat R3
Section B: Strap
At the end of R12 (last round), ch 41, leave a long yarn tail for attaching the strap on the other side of the chapstick holder.
Section C: Cap
To begin, make a magic ring, insert the hook inside the magic ring, yarn over and ch1,
R1: 6 sc into the magic ring, slp st on top of the first sc st you’ve started with to join your work and ch1 to close, (6sts).
R2: 2 Sc into the same st you’ve made a slp st, and continue making 2 sc in each st around until end of the round, at the end, ch1 to close, (12sts).
R3: 2 sc into the same st you’ve made a slp st, 1 sc in the next st. 2 sc in the next st, repeat till end of the round, slp st on top of the first st you’ve started with to join your work, ch 1 to close, (18sts).
R4: 2 sc in to the same st you’ve made a slp st, 1 sc in each of the next 2 sts. 2 sc into the next st, repeat till end of the round, (24sts).
R5: 1 sc in to the same st you’ve made a slp st, sc in each st around till end of the round, at the end, slp st on top of the first sc st you’ve started with to join your work, (24 sts).
R6 & R7: Repeat R5
At the end of R7, slp st on top of the first sc st you’ve started with to join your work, cut off the yarn
Section D: Bow
Ch 41, cut off the yarn
Fold the ch to shape the bow like you are tying your shoes (fold one side, bring over the other tail across the folded side, fold the other side and pull it through the loop created, Pull both folded sides to tighten up your bow and to have equal sides in terms of length).
Section E: Attach the stem to the cap
Use a yarn needle, insert the yarn needle from inside between round 3 and 4, pull through the ch, insert the yarn needle from outside, opposite side into the same round (between R3 and R4), pull through the ch inside the cap.
Undo the last ch, insert the hook in that loop, slp st into opposite st on the stem as well as the next st to attach the strap on the other side of the stem, ch 1 to close.
Section F: Attaching the bow to the cap
Use a fabric glue (apply moderate amount of glue, press the bow onto the cap to fully attached it to the cap, will take 24-48hrs for it fully dry) or a yarn needle
Weave in all yarn ends!
Enjoy, Crochet Made Easy!
Do not hesitate to contact me via email if you encounter a problem regarding this pattern please. Please leave a review on my shop if you find this pattern helpful. You can use a tutorial on my youtube channel for this bow chapstick holder, to assist you better understand the pattern. Share your finished crochet projects on all of your social media accounts and don’t forget to tag me for credit as I would love to see your finished projects you have made using this pattern.
Email: helenknittingandcrochet@gmail.com
Connect with me on social media
Instagram, Tiktok, Pinterest & Youtube @CraftedComfort97
Twitter@CraftedComfort97
Facebook @Helena Mathias/ my page @CraftedComfort97
©2025 CraftedComfort

Leave a comment